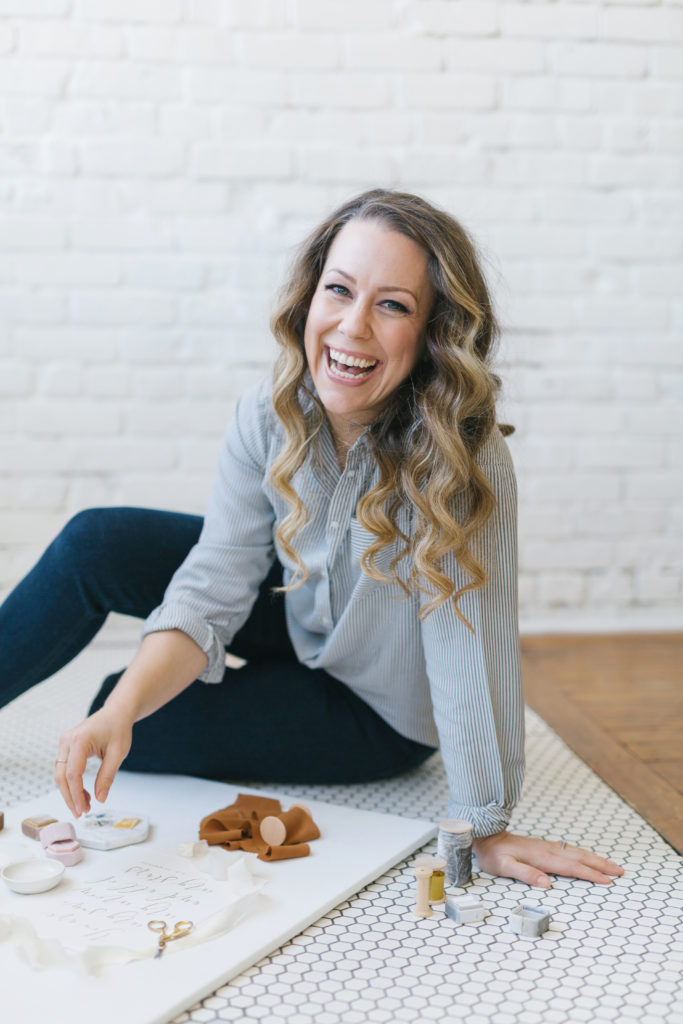
I recently shared everything that’s inside my wedding styling kit. If you haven’t had a chance to look at that blog post, I highly recommend it. Now, I don’t want to toot my own horn, but I have created quite the collection of style shoot props. I even included links to all of my favorite Etsy shops for the different props/tools I use it all my styled wedding shoots. I wanted to continue on the theme and share with you my top 5 tips for creating beautifully styled wedding shots. Let’s get to it.

1. Keep everything organized with a compartmentalized bag
This is a biggie and prevents you from trying to find everything the day of your shoot. I literally have a compartmentalized makeup bag from Target, which is great because it has a ton of different pockets to keep everything organized. I literally have a big canvas bag with all of my boards in it, and I just throw in the makeup bag. Whatever works for you: but keep all of your props, tools, etc in one place and organized.
2. Go towards the light
Find that big window or sheltered area (wind is NOT your friend). Try to find a spot that is not chaotic or in the way (which let’s be real, won’t always happen), but the key is finding the good light. Sometimes I will shoot outdoors, but finding a sheltered area that is away from wind will make your life much easier.
3. Gather styling stems from the florist
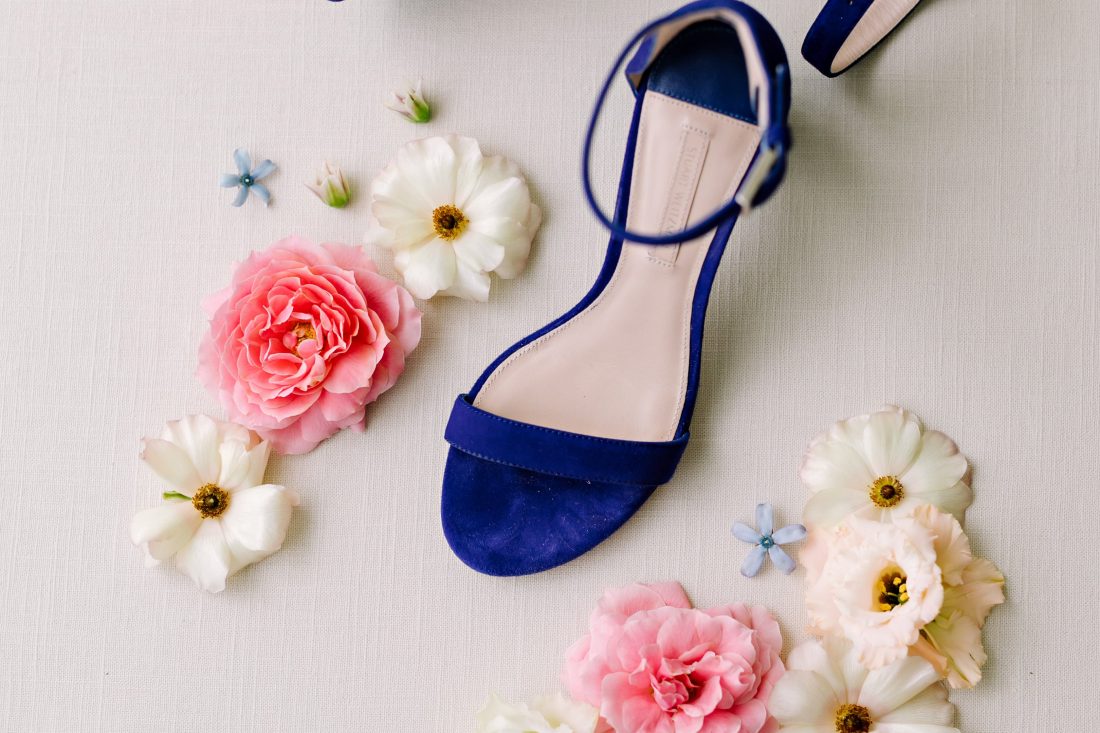
Depending on the wedding, it may be important to have your bride/coordinator request this prior to the day of, so the florist can add this to their order. Otherwise, on the day of the wedding, you can ask the florist for some extra stems — most of the time they’ll let you pick out a few. Keep in mind that you want greenery and flowers that can lay flat. I typically ask for a few stems of greenery and different floral pieces that I know I can cut off and lay as flat as possible. Keep in mind that you want different size florals: a bigger floral piece, some medium, some small, and some things you can sprinkle around. These are important for incorporating elements/color from the wedding overall, making all of your images cohesive with the rest of the wedding.
4. Balance
Pay attention to how everything is balanced. I tend to make my heaviest, floral elements in the bottom right-hand corner because the eye leads there nicely. The colors should also be consistent on the top and bottom. For example, pink towards the bottom of the frame, I’ll also want to have some pink elements in the top as well. Consistency and balance are key.
5. Have fun!
Don’t be too perfect, because girl, there are really no rules with styling (other than the fact that you want it to look beautiful)! Play with elements not being perfectly straight, but instead intentionally off. Have fun with it!
BONUS TIP: Don’t forget to remind your bride
This is a big one, hence why it’s the BONUS tip! Don’t forget to remind your bride to have all of the details ready for you when you arrive on the wedding day. This includes ALL of the rings, wedding gown, shoes, the wedding invite with all of the pieces, garters, jewelry and anything else that’s important to the bride that she wants to be photographed. This will help you be as efficient as possible.
One thing I have learned with styled wedding shots is this: practice really does make perfect. When I first started doing styled shots at weddings, it wasn’t pretty. Slowly but surely, I got better and better. Keep practicing, keep experimenting and never give up.
I’d love to hear from you if you have any questions for me. Comment below or send me a DM on Instagram.


My Top 5 Tips for Styled Wedding Shots
VIEW THE COMMENTS